Navigate in Neptune® 360™
Neptune® 360™ has various navigation options on every window so there are multiple ways to access different pages in the software and navigate back to your starting point.
The way you display and sort items in a grid is common across all grids in the software and is defined in this topic.
Information in This Help Topic
Click a link to display the related information or step-by-step procedure.
| – | – | |
| – | – | |
| – | – | |
| – | – | |
| – | – | |

Select a Water Utility
The data for your default water utility is displayed when you first view the dashboard. Views are based on the permissions set when your account was activated.
If you have access to multiple utilities, you can select to view any utility within your umbrella network to show the data in the dashboard.
- Click the utility name next to the Action Center (bell) icon in the top right corner of the welcome page.

Neptune 360 displays the Choose Utilities window.
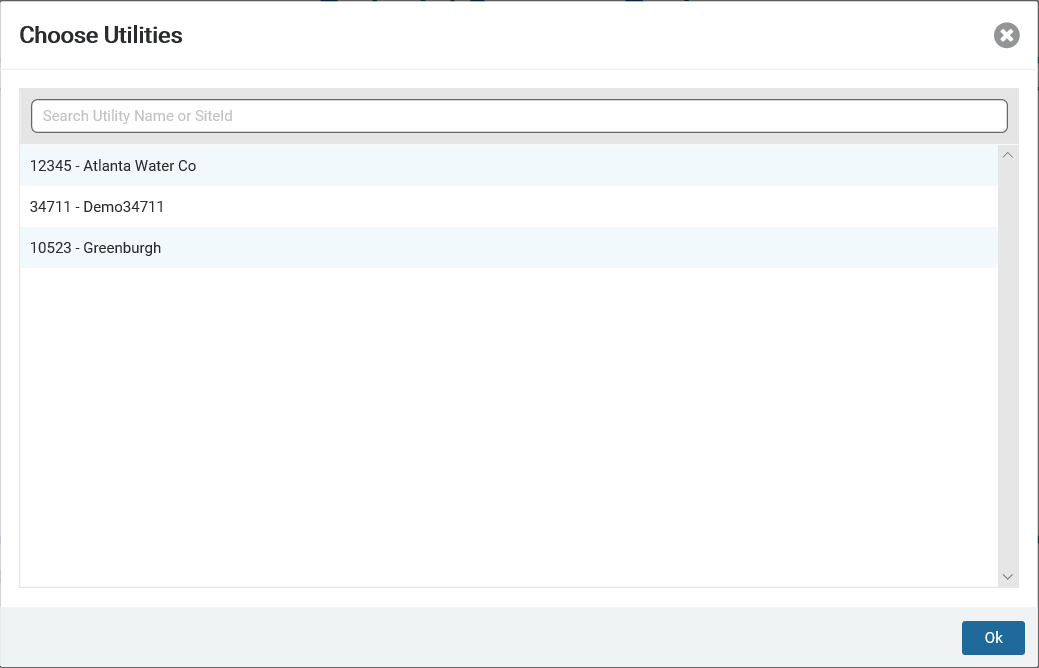
- In the Utility field, type a partial utility name or ID to display the utilities to select.
- Select the utility for which you want to display water consumption data, and then click Ok.
Neptune 360 displays data for the selected utility in the dashboard.
Common Navigation Objects
The following table defines the common navigation objects that appear on various windows in the system.
| Navigation Object | Description |
|---|---|
|
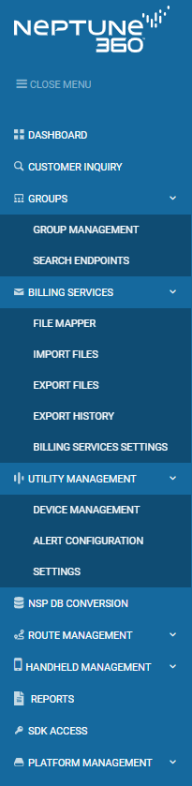
Side Menu
|
Important! Some functions may not be available based on your permissions.
|
|
Side Menu Closed
|
When you close the side menu, you can navigate to other windows using the icons that still display.
|
|
Breadcrumb Menu
|
Displays to the right of the side menu on each widow and indicates the screen currently displayed. |
|
Neptune Logo in Side Menu
|
Click to return to the landing page, at any time, from any window. |
|
Home Button
|
Click to return to the landing page, at any time, from any window. Note: Do not click the Home button in the browser as this takes you out of Neptune 360. Click only the Neptune 360 Home button to redisplay the software landing page. |
|
Browser Buttons
|
Move backward and forward one screen.
|
|
Search
|
Search records based on the criteria entered. |
| Expand Menu Arrow
|
|


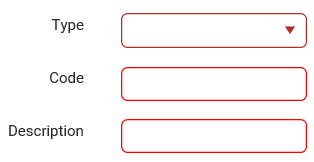
Required Fields
Fields that are required to contain data display outlined in red. If you do not have data in these fields when you perform an action, the system displays an alert message.
Navigate in Grids and Reports
This following table defines the objects that help you navigate in lists and grids, such as reports.
| Navigation Object | Description |
|---|---|
|
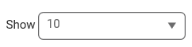
Number of items to display in the grid. Click the arrow to display the menu selections. |
 , |< , |< |
Display the first page in the grid. |
 , < , < |
Move back one page in the grid. |
 , > , > |
Move forward one page in grid. |
 , |> , |> |
Display the last page in grid. |

|
The item count currently displayed within the total number of items in grid. |

|
Page number within the grid that is currently displayed. Click a number to display that page. |

|
Text or numbers that are blue and underlined are links you can click to display a dialog box or drill down to detailed information. |

|
Select all items in the grid. |

|
Deselect all items in the grid. |
|
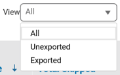
Options to display only certain types of items in the grid. |
Customize the Grid View
By default, items within a list or grid display in order of creation from most recent to oldest. You can sort the items in the grid and filter them to display only certain types of items.
Sort the Items in a Grid
You can sort grid items in ascending and descending order.
- On the grid, click a column heading to toggle between sorting by the column data in ascending or descending order, or click the expand arrow to display the sort menu and select Sort Ascending or Sort Descending.
When you mouse over a heading, the cursor may change to an index finger or an arrow pointing up to indicate clickable text. The arrow direction in the column heading indicates the current sort order:
-
 - Ascending order in the Total Meters column.
 -
 - Descending order in the Total Meters column.
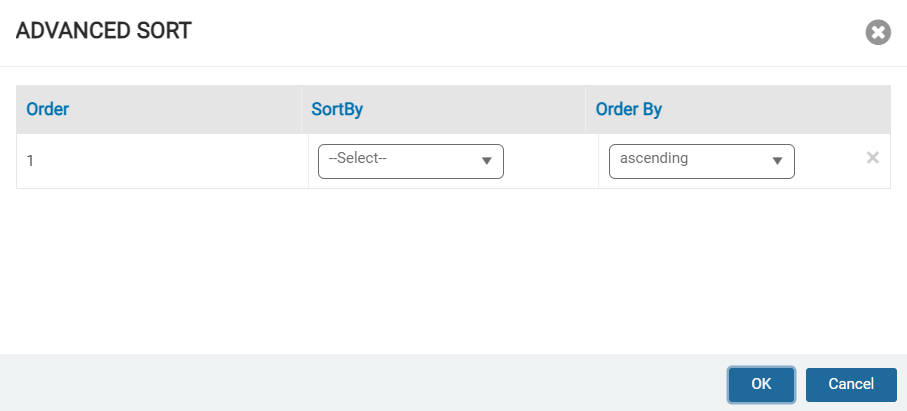
Perform an Advanced Sort
Some grids include an Advanced Sort option on the columns. Using advanced sort, you can sort the grid by multiple columns, and select the order of columns on which to sort.
- On the grid, hover to the right of any column heading to display the sort options.
- Select Advanced Sort.
-
In the Sort By field, select the first column by which you want to sort data.
-
In the Order By field, select the sort order for the selected column.
-
Repeat steps 3 and 4 for each successive column by which you want to sort.
Neptune 360 sorts by each column in the order they appear in the sort, and by the order selected (ascending or descending).
-
Click OK to sort the data
Filter the Items in a Grid
Along with view options to display only certain types of items, some columns allow you to apply filters to sort and narrow down the items displayed. Filters that you apply to different columns are cumulative beginning with the first column. For example:
A. In the first column called Meters, you filter to display only MACH 10® meters.
B. Next, you filter on the third column called Meter Number to display only meters that begin with the number string 9857.
The result is the system filters the grid to show only MACH 10 meters whose meter number begins with 9857.
- In the column you want to filter, click the filter icon (
 ).
).
The system displays a dialog box or menu in which you type or select the data on which to filter. Note that you may need to click in the field to display selectable options.
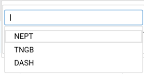
- Select the option on which you want to filter the grid items.
- If required, click Filter to apply the selected option.
The system redisplays the list based on your selected filter.
Define the Grid Columns
In many of the Neptune 360 tables you can add and remove grid columns to customize how your table data appears.
- On the grid, click Table Settings to display the Add or Remove Columns window.
- Select and deselect the column names to define which columns you want to include on the grid.
- Route Assignment Option, Only: To split routes when exporting to a different format, click Split By Routes when exporting.
This option allows different routes to appear on separate pages in the exported file.
- Click Ok to set your grid column organization.
Export a Grid or List to another Format
You can export a grid or a list to a PDF file or an Excel file.
- On the grid or list, click
 to display the export options.
 - Select either Export Detail - PDF, or Export Detail - Excel to save the grid in one of these formats.
- Check your Downloads folder for the file exported to the new format.
Contact Neptune Technical Support
While using the Neptune® 360™ software, you can contact Neptune Customer Support via live chat for direct support on the software. Live Chat is available between 7:00 AM and 5:00 PM Central Time.
- On any Neptune 360 software page, click Live Chat and describe your issue or concern.
- Click Submit to connect with a customer support agent.
